KNIT MAXI DRESS | NEW LOOK 6554

Another one added to my new wardrobe! YES! The excitement is growing with each new garment. When I decided to start over from scratch and rebuild my entire wardrobe, I knew it would be fun. This knit maxi dress makes my heart smile. It’s totally my style and fits right in with the new wardrobe I’m curating. I’m a maxi girl and it’s about to get REAL MAXI up in my closet, for all seasons. Hahaha!!! Let’s get into the details of this dress.

Pattern Information
This is another oldie but goodie. I’ve had it in my pattern collection for quite a while and made the jumpsuit as loungewear several years ago (photo below). The pattern comes with a flared leg jumpsuit, and dress in two lengths. The faux wrap bodice creates the perfect v-neckline. It also comes with a sash to tie around the waist, if desired. Both garments include pockets, and the dresses have a side slit.


NEW LOOK 6554 is rated as AVERAGE. I rate is as BEGINNER FRIENDLY. If you have basic sewing skills, you should be able to complete the garments. There are minimal pattern pieces required to sew the garments. It’s currently available in Paper copy only at the Simplicity website in sizes 6 – 18. The pattern instructions are very straight forward and simple to follow. Now, let’s take a closeup look at the dress.


Fabric Information
The pattern is sized for stretch knits only and the suggestions are ITY Knits and Jersey. I used this soft Brushed Poly Knit that I purchased form JoAnn Fabrics a long time ago. It is no longer available.

The border runs parallel to the selvage. Therefore I had to lay my fabric on the crosswise length, perpendicular to the selvage.

Inside the Garment
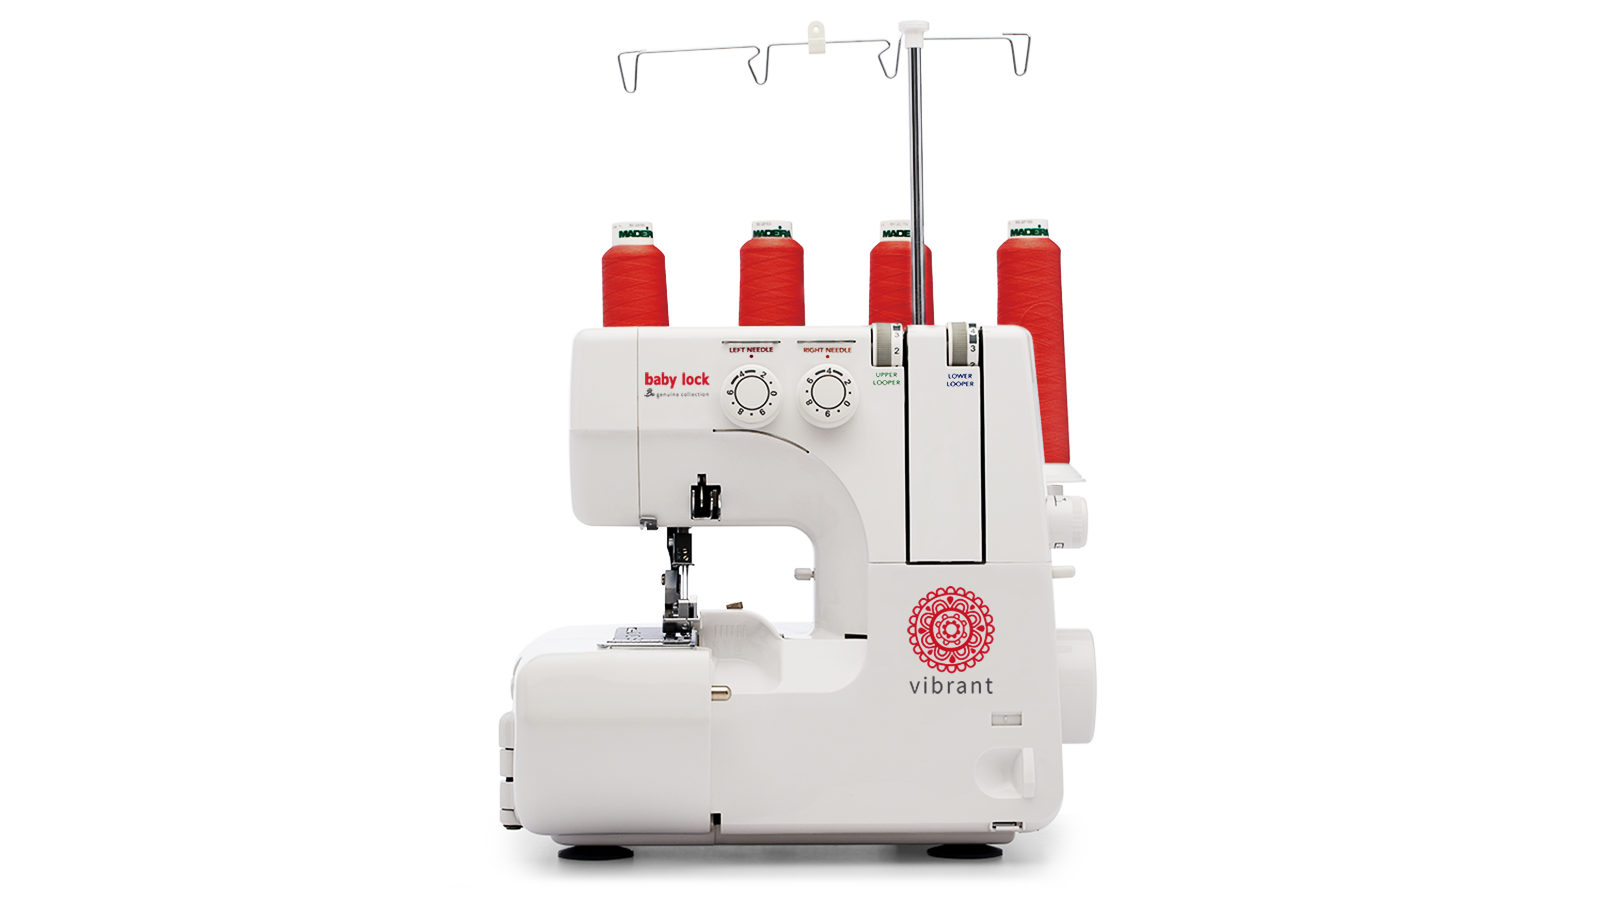
I used my Baby Lock Chorus machine and Vibrant Serger to sew the dress. Here are closeup photos of the insides.


Notions Information
The pattern calls for 1/2″ wide single fold bias tape, and 1 yard of 1/4″ wide elastic.
Alterations Information
I cut a size 10 for the bodice and skirt and closed up the slit to just at, or slightly above, my calf. To align the bottom of my dress with the border print, I drew placement lines on the skirt pattern piece. There is only one piece for the front and back of the skirt. I used the border placement line to determine where I wanted the border to begin. The hem line is 1 1/4″ as indicated on the pattern. However, I didn’t use their suggestion. I tried on my dress first and determined my hem based on the shoes I plan to wear with the dress. I wanted a length that would work with both heels and flats. I ended up sewing a 1″ hem.

Before placing the pattern pieces onto the fabric, I removed the white selvage. It was tightly woven, causing the fabric edge to curve in rather than lay flat. If you’re ever working with a knit fabric that won’t lay flat at the selvage, just trim it away.

I wanted the full border, therefore I aligned my pattern piece along the raw edge and drew in my placement line at that point.

If I wanted a more shallow border, I would have placed the pattern piece where I wanted the border to begin, keeping in mind where the seam allowance would end. You have full control over the depth of your border. However, you must be mindful of what’s happening at the top of the pattern piece to ensure it’s not extending into the border on the other end (unless you want the border there too).
UPDATE: The pattern calls for cutting on the fold, but I cut the skirt on a single layer of fabric and flipped it over to continue cutting, creating a full skirt piece. This is done for the front and back. It’s important to cut on a single layer to ensure that the border lines up properly.

Here is a look at the full pattern piece on the fabric. For my beginners: You can add borders to sleeves, pants legs or anywhere you desire. When adding borders to the middle of pattern pieces, first measure the original pattern piece. Next, you will need to slice the pattern where you plan to place the border, subtract the border depth equally from the two cut pieces. Add seam allowances to all three pieces. Be sure to add seams allowances to both ends of the border. Cut the fabric and sew the border in between the two main fabric pieces. In short, you will use three pieces to construct one full piece. Then you can measure the finished piece to see if it’s the same length as the new pattern piece you altered.

Styling Options
I made this dress last Saturday to wear to church on Sunday. It’s a quick sew. In the first photo, I’m wearing the dress with a pair of flip flops and the hem falls just right.

I’ve accessorized with a simple gold necklace with single pearl, gold and pearl teardrop earrings, pearl bracelet and ring. I made the sash with the border print, but I would prefer it with the main fabric, so I will be making another sash.

I don’t usually add pockets to dresses that are fitted too close to the body with lightweight fabric. It feels awkward to me when putting my hands inside. But it wasn’t bad at all this time. I like the pockets.

I wore the dress with a pair of cream pumps and my taupe crossbody bag to church on Sunday. I love this dress. The fabric gives me a feminine vintage vibe. The color is vibrant and the contrasting border adds just enough interest without being too much.

I have enough of this fabric left over to make another garment. I’m gonna have fun using it again.

I like the length of the slit. It’s just enough for comfortable walking. I didn’t measure the pattern piece, but I tried on the dress and placed a pin where I wanted the slit to stop. I had already added a basting stitch in that area.


WHAT'S NEW?
Something new is coming to my YouTube Channel tomorrow. I’m so excited to share an idea that came to me a few days ago.

What do you think?
Are you a maxi girl? Or do you prefer shorter dresses? Would you sew this pattern? I would love to hear your feedback. Scroll to the very bottom of this page to leave a comment.

Thank you for stopping by today! 💕

Other Related Link
- Behind the Scenes YouTube Video
- Sewing Project Checklist
- Learn to SEW Course
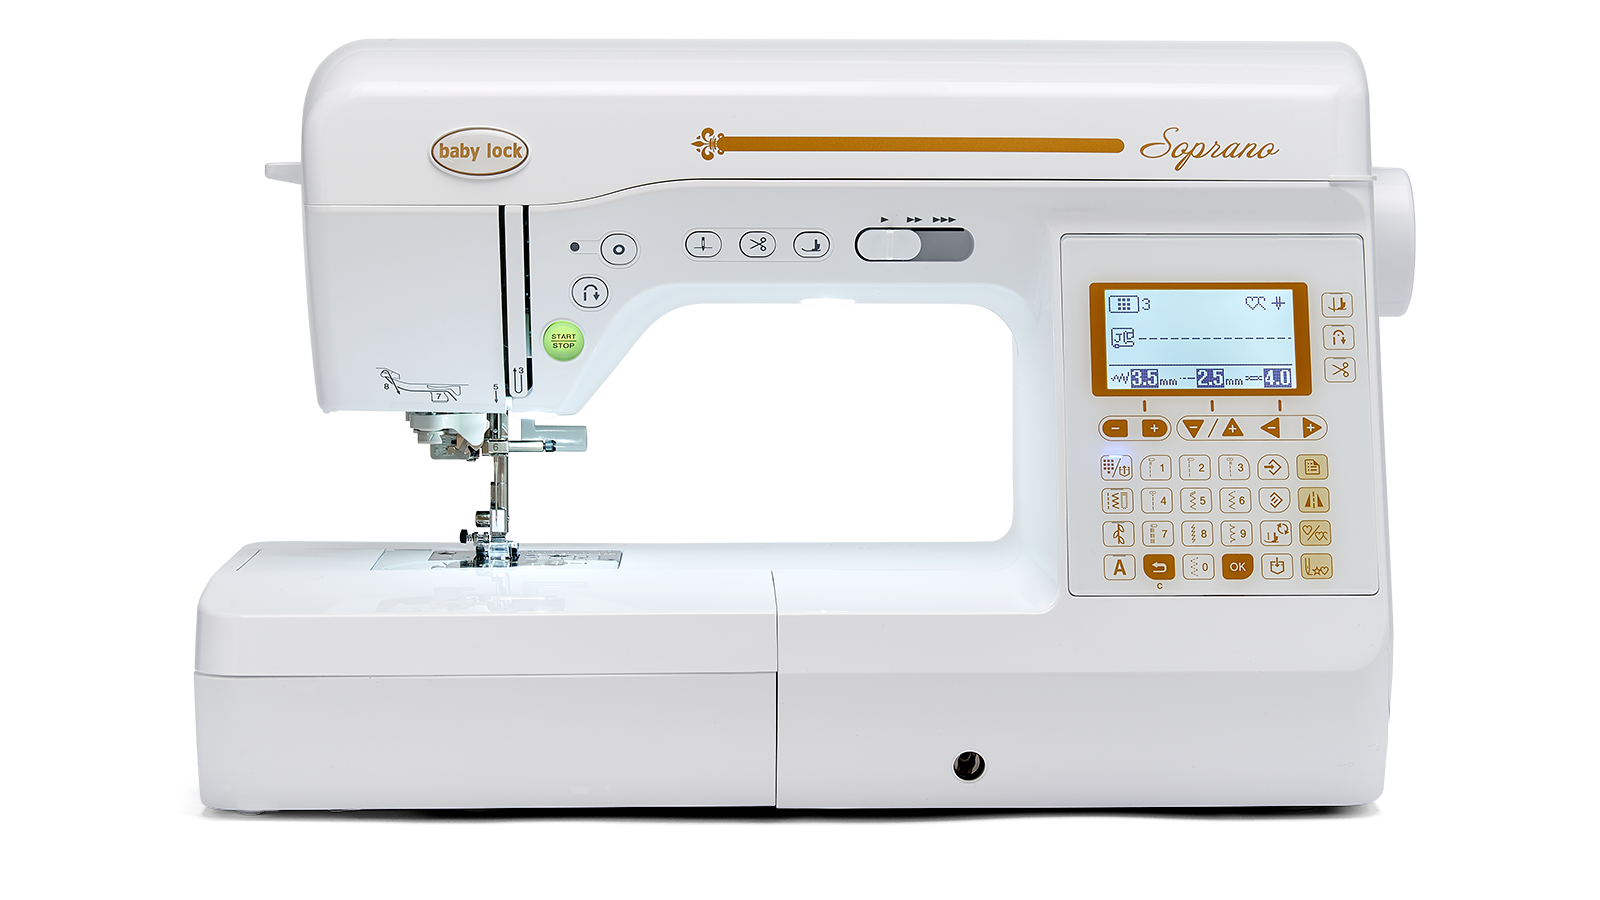
- Baby Lock Soprano
- Baby Lock Vibrant
- Baby Lock Euphoria
(DISCLAIMER: This blog post may contain affiliate links, which means that if you click on one of the product links, I’ll receive a small commission on qualifying purchases. All opinions in this post are my own.).)
Don't Forget your Sewing Project Checklist
I created a Sewing Project Checklist to help you stay organized while sewing your garments. If you missed the video where I shared 3 Steps to Time Saving Sewing for Beginners, check it out to learn how you can streamline your sewing process. Tap the button below to get a Free PDF copy of the Checklist.

Join My Community
Join others in my community for early access to new courses, exclusive member benefits, giveaways and updates when new content and products become available.

You Should Share This Blog Post With Your Friends
- Pinterest
- Facebook
- Twitter


BABY LOCK SEWING MACHINES


This Post Has 35 Comments
Thank you for sharing your pattern and step-by-step on how you acquired your beautiful dress. It looks lovely on you! I just love how passionate you are about stretch materials. I have not yet mastered sewing with knits/jersey but am taking baby steps. Thanks again for sharing.
You look so pretty. You did a great job sewing.
Looks very comfortable to wear.👍🥰
Thank you, Lorraine! It’s very comfortable.
Anita, I LOVE this format! I enjoy your “live” presentation and also the inside out photos. I do not do social media. I read your blogs because they come as an email. Combining both into one is great for me personally. Mostly, I love hearing the excitement in your voice about your project and your “wearing” ideas. You are motivating!
Marcia!!! This makes my heart so happy! Thank you for your feedback. I’m just thrilled to hear that you like the new YouTube Series. I was hoping most viewers would like it. Well, look forward to many more because I really enjoy recording the behind-the-scenes footage. 🤗
I just purchased this pattern last week. The dress looks fantastic on you! I love to see your makes and I enjoy reading the details. Thanks for keeping us up to date on your fashions.
Oh yaaay! Have fun sewing your maxi dress, Martha. 🤗
Anita, I treated myself to a couple of maxi dresses I bought on sale this summer. Love, love, love them!! This pattern looks so interesting that I might try it. The fabric is gorgeous and the border is a great offset. You sew the inside as beautiful as the outside! This is another great sew and a spiffy piece for your new wardrobe. You look great!!
Thank you so much, De! YES! Another maxi girl! 🤗 And you know I love to make the insides pretty. 💕
Beautiful fit. Just Beautiful.
Only wear maxi dress or skirt, love everything you sew! Once garden season is over I want to take a class with you.
Oh yeah, I’m definitely a maxi girl. Thanks for showing this beautiful make and for the tips on border placement. It’s great to see the pictures and how you marked the pattern.
Did you place the pattern on the fold? I ask because you showed one pattern piece on the open fabric.
Thanks as always for sharing sis 💕
Oh shoot, I forgot to mention that very important bit of information. The pattern calls for cutting on the fold, but I place my pattern pieces on a single layer of fabric and flip it over to get a full cut. This help to ensure everything is lined up properly at the border.
Hi Anita,
Oh, what a beautiful dress! The lovely bright orange really suits you. The split is exactly the right length and the border print sets off the dress perfectly. I think the sash would look good in either print and it would be nice to have the choice of two. I also think your dress looks lovely styled with both heels and flats. You have inspired me to make my own maxi dress!
Kindest regards,
Jill
Thank you so much, Jill. Yes, I like the idea of having both options for the sash. Have fun sewing your maxi dress.
Beautiful—as always. Love the fabric and the garments look great on you wearing them.
Simply gorgeous!
The color really pops against your complexion beautifully, and looks quite a different shade on as opposed to the initial showing. Could be the lighting though.
I like the contrast of the sash, but wouldn’t dislike it in matching material.
You always do very nice work and I look forward to the next, always.
Always,
~Cornelia
Thank you so much, Cornelia. Yes, the lighting changes everything.
As always, beautiful job and excellent skills.
This is beautiful and looks great on you! I am a maxi girl now….as I’ve aged (68), I can’t/won’t follow the trend of “no hosiery” (just aging legs) with shorter dresses and I’m no longer comfortable wearing panty hose for the most part anyway, so the maxi solves that problem. Plus, they maxi can just look so stunning! Thanks for the inspiration, as always!
Hi Katherine! Thank you so much. I think the maxi just looks classy too. And it’s comfortable.
WOW Anita, Two more beautiful garments. Question when we can get another sew along?
Thank you, Sasha! I don’t have a date but there will be more sew alongs coming.
Oh my Anita! You have done it again ,created another stunning garment that looks fabulous on you. Yes I am a maxi girl now too. Thank you for your great inspirations. As always Bountiful Blessings to You.
Thank you so much, Alice. Blessings to you also.
What can I say Anita! As always the dress is beautiful. I love the maxi. The fabric is so pretty and it looks great on you!
Thank you, Carol! I’m in love with the fabric.
You look gorgeous in your new dress!! Did you have to lengthen the bodice to fit? I am very long waisted and always have to lengthen the bodice on a dress pattern. Do you have any patterns you would recommend for fit nd flare with a border print??
I did not lengthen the bodice but you can certainly do that to accommodate your body. I don’t know any patterns off the top of my head. Check out the pattern company websites.
Anita, I also love Maxi dresses. I am loving this orange print on you. Can you please share where you get your personalized clothing labels? Thank you in advance. Stay blessed!
Thank you. My labels are from Dutch Label Shop.
Wow Anita that fabric color and print are beautiful and you look fantastic in that outfit. Love it 😍
Thank you so much.
Dear Anita,
I love reading your in depth analysis of patterns with the accompanying photos. Very inspiring for us newbies! Would you recommend knit stretchy fabrics for beginners using this pattern?
With thanks
Suzanne
Yes, this pattern requires stretch knits. Practice on a scrap piece before starting your project.