TWEED COAT | MCCALL'S 8797

Happy New Year! I’ve been wanting a tweed coat for a while, so I decided to make one for my first project of 2025. I think it turned out well, and I’m so happy to finally have this coat in my wardrobe. In today’s post, I have lots of photos to share of the coat, inside and out. But I also want to share how I matched the plaid design at most of the seams. It is always a challenge for me to match every seam when working with plaids. Therefore, I focus on the most important seams based on the garment design. I’ll share more about that later. First, lets take a look at some closeup photos on the outside of the coat. (This blog post is sponsored by Baby Lock. All opinions written here are my own.)


Pattern Information
Since I decided to work with a plaid design, I wanted to go with a very simple coat design to minimize the amount of seam matching. Most of the coat patterns I already have include princess seams or other details that I didn’t want to deal with on this fabric. Therefore, I started searching and found SIMPLICITY 8797, a simple coat with minimal design lines.

This in an oversized, fully lined coat with large, rounded lapel and collar. It has a single button front closure, side seam pockets and comes in four different lengths. The pattern is rated as AVERAGE (Intermediate) by the company and I agree. You must have a good amount of sewing experience to understand some of the instructions and work out the misprinted pattern markings. I’ll explain that later.

The pattern is available in print only with a size range of XS(4) – XL(22).

Fabric Information
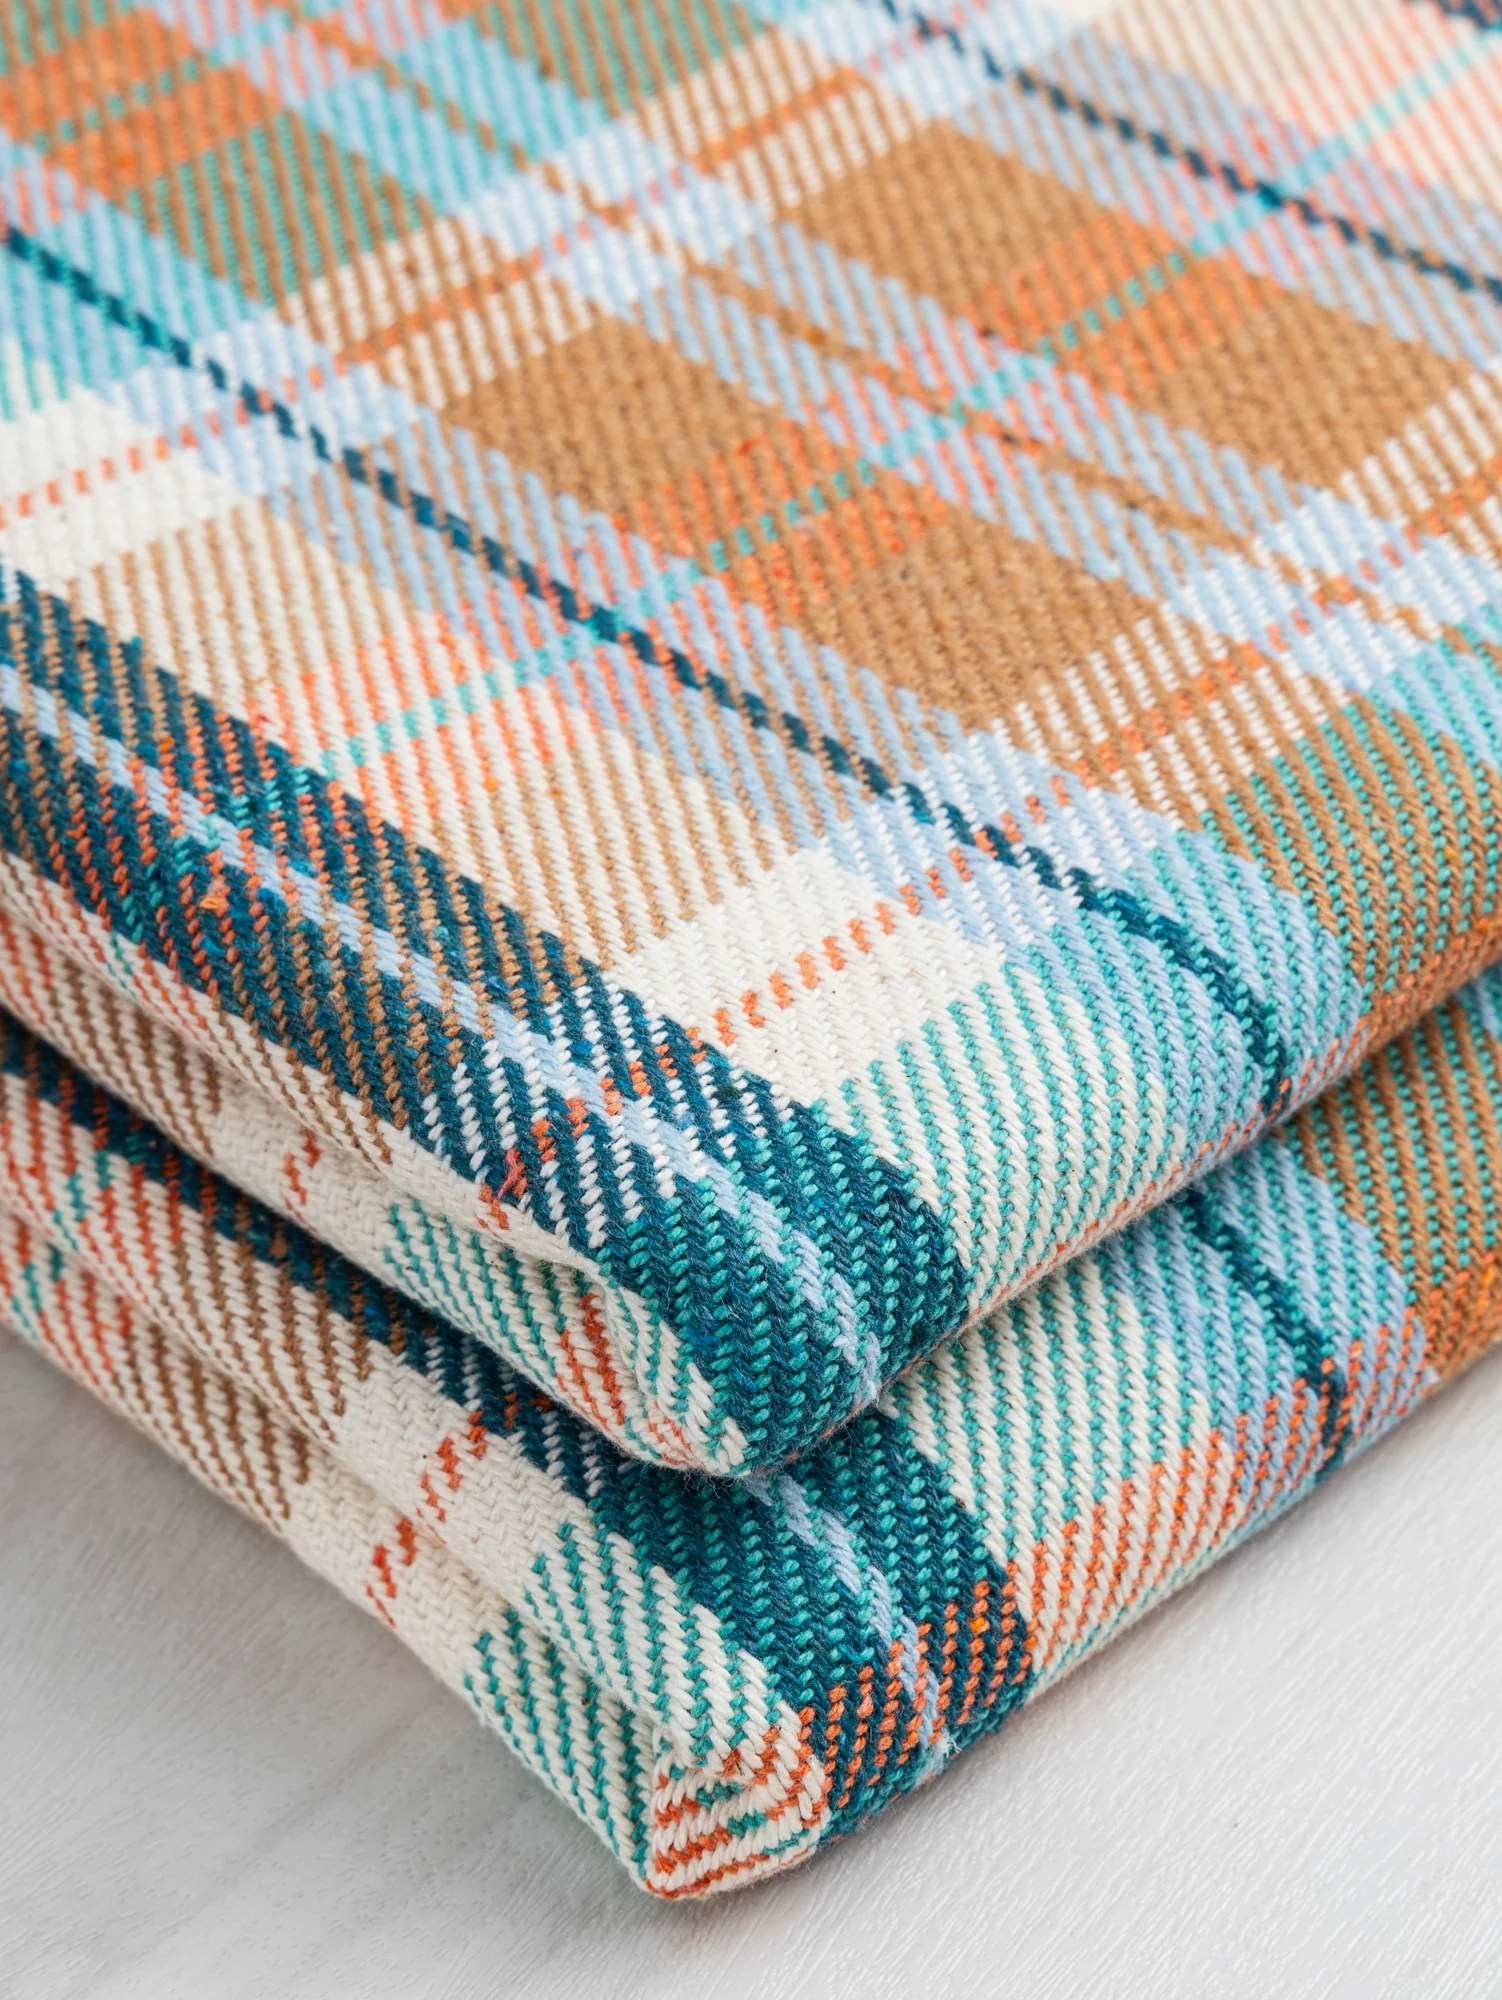
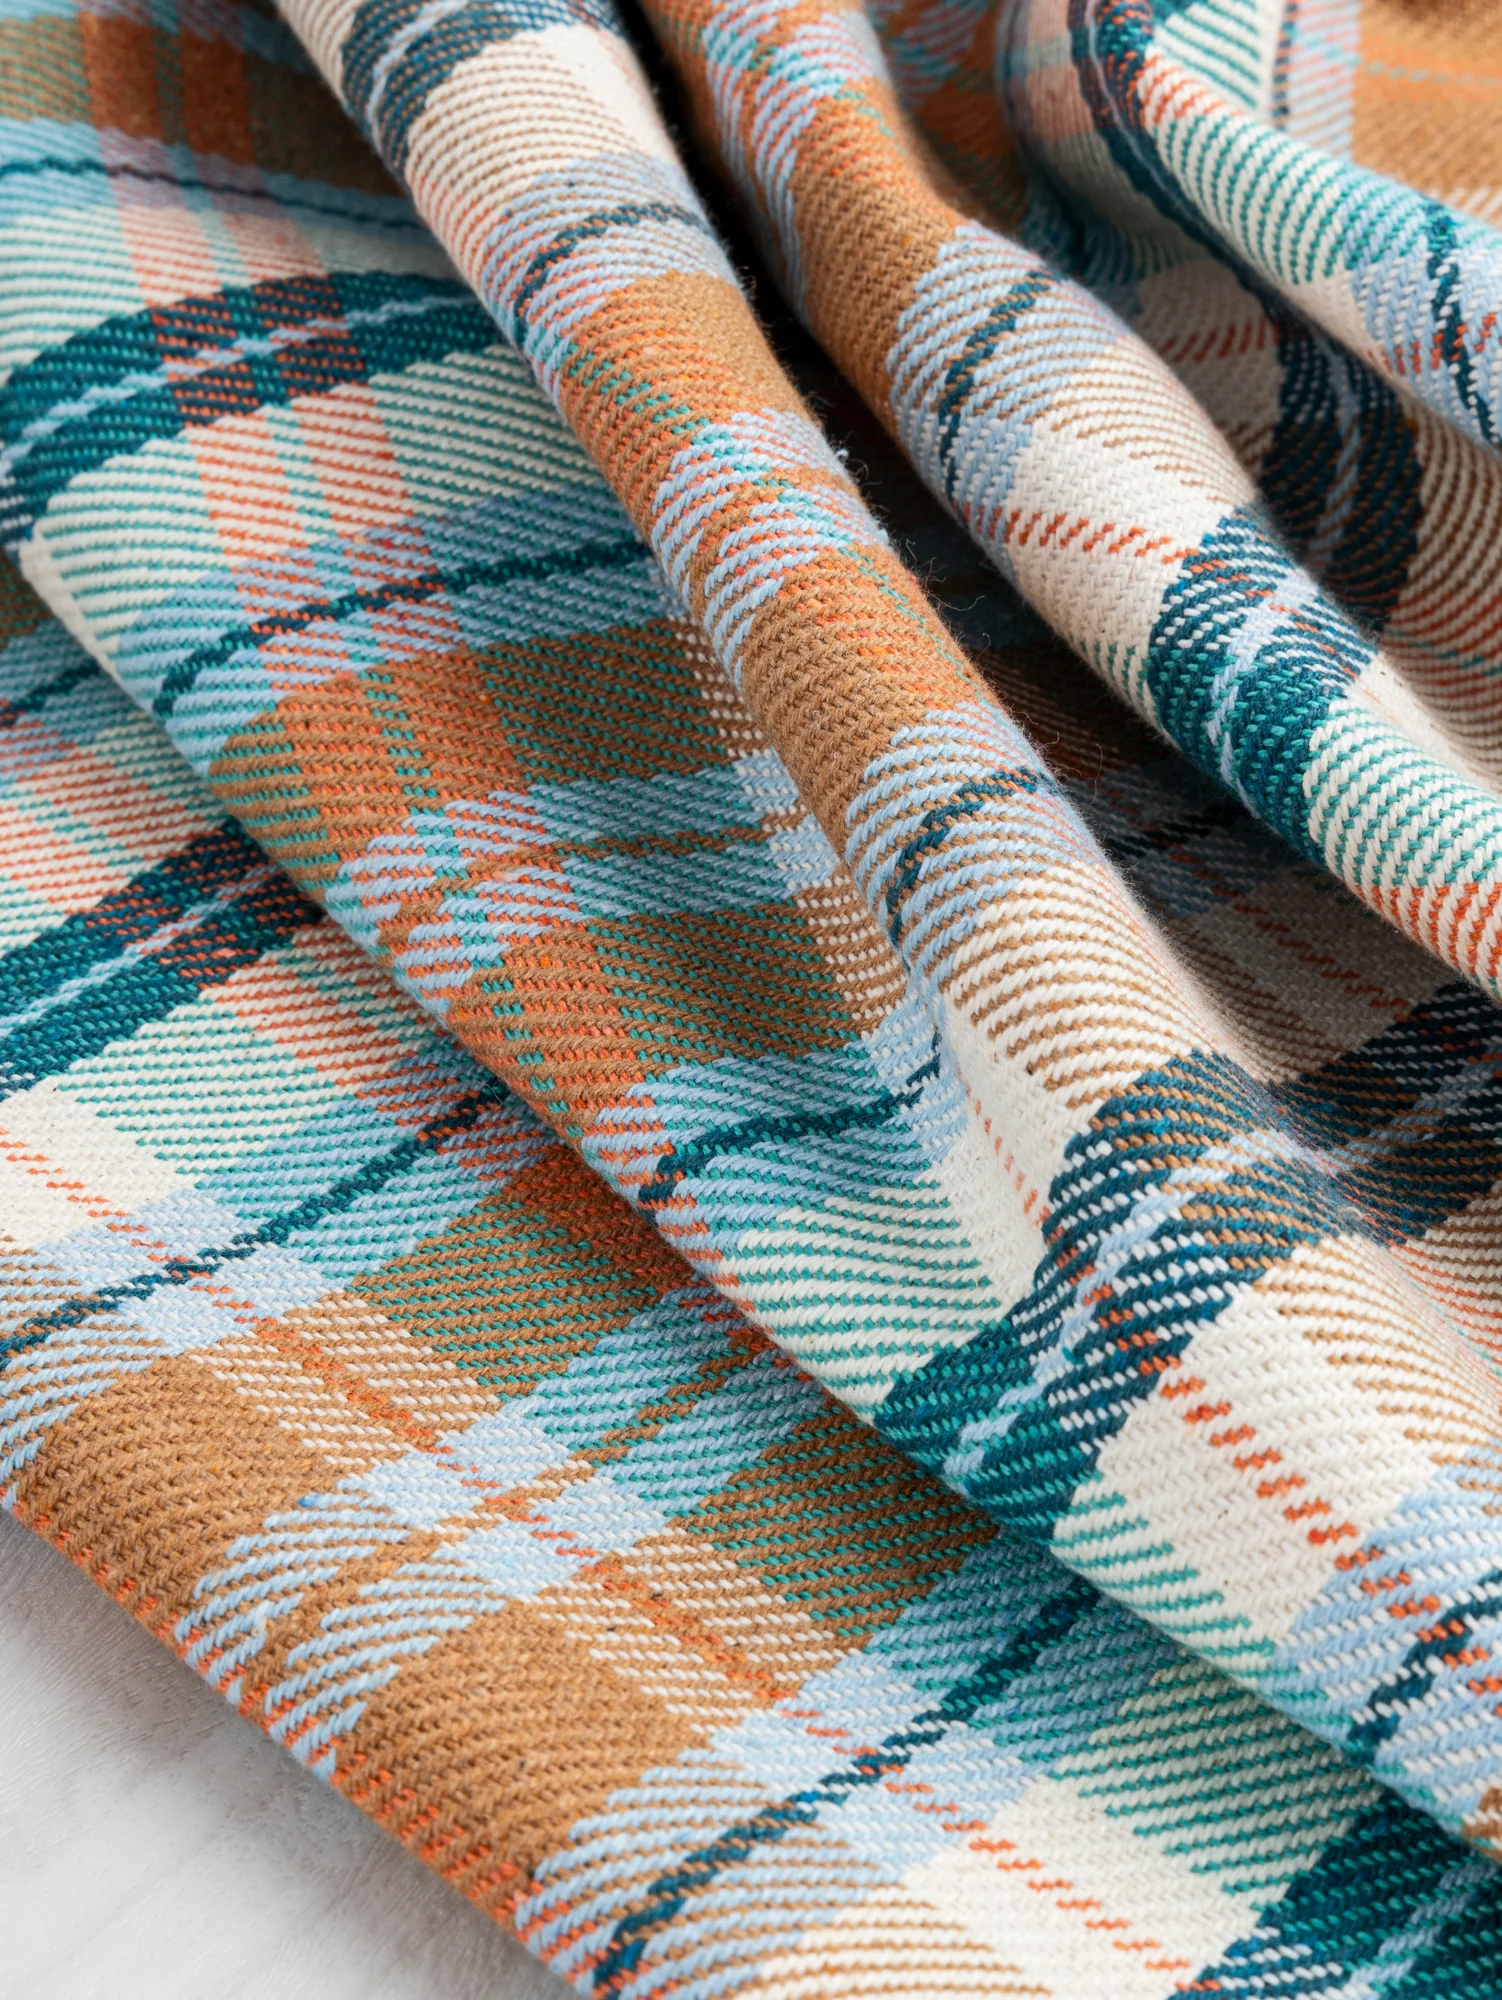
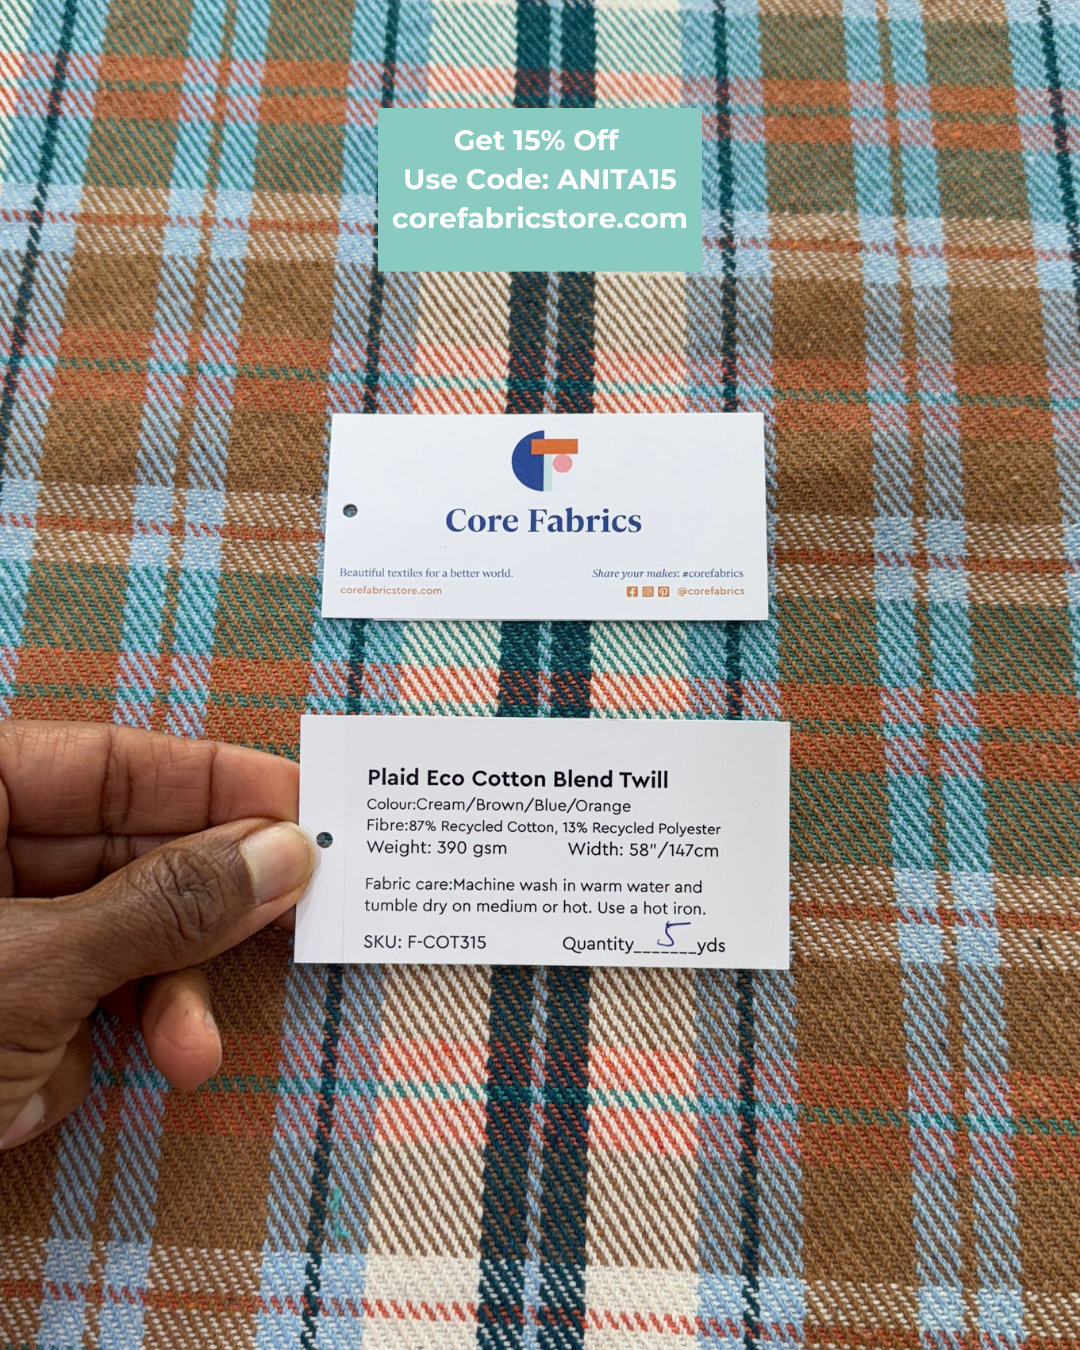
Now, let’s get into this fabric, because it’s the real star of the garment. As a collaborator with Core Fabrics, I get to pick out any fabric I want once a month to create a garment. When I received my samples for the winter, I was immediately drawn to this gorgeous PLAID ECO COTTON BLEND TWILL. And I knew it had to become a coat. The colors are so beautiful and vibrant.
I think the fabric would look great as a short jacket with matching skirt. It would also make beautiful pillows for the sofa or bed.
As part of my collaboration with Core Fabrics, you GET 15% OFF your entire order when you use my code ANITA15. The code applies to all fabrics and notions in the store, except sale items. Go to corefabricstore.com
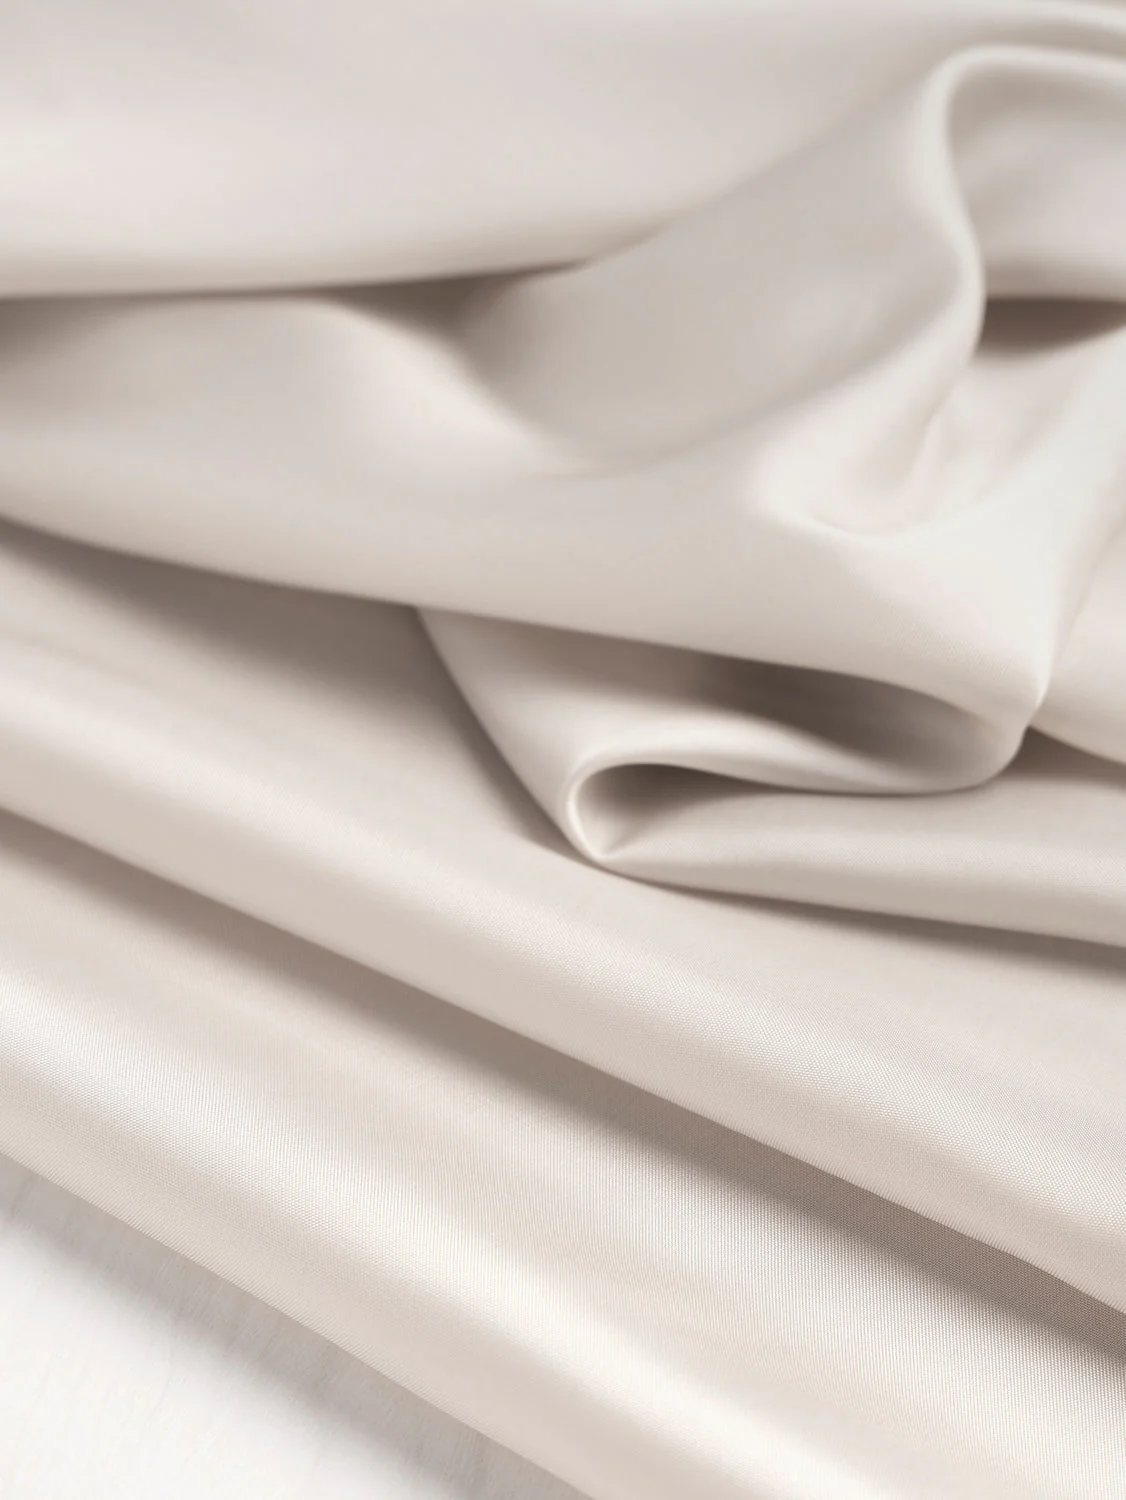
For the lining, I used my favorite BEMBERG CUPRO LINING in the color Sand from Core Fabrics. The lining is really thin and you can see the plaid print from the inside. I probably should have chosen a thicker lining, but it feels oh so beautiful against my skin. The way the coat just glides onto my body over my clothes is simply divine. This lining is excellent for lightweight pants and other garments. I’ve used it for a pair of linen pants and will be using it again for another pair to wear with the new blouse I’m working on right now.
Inside the Garment
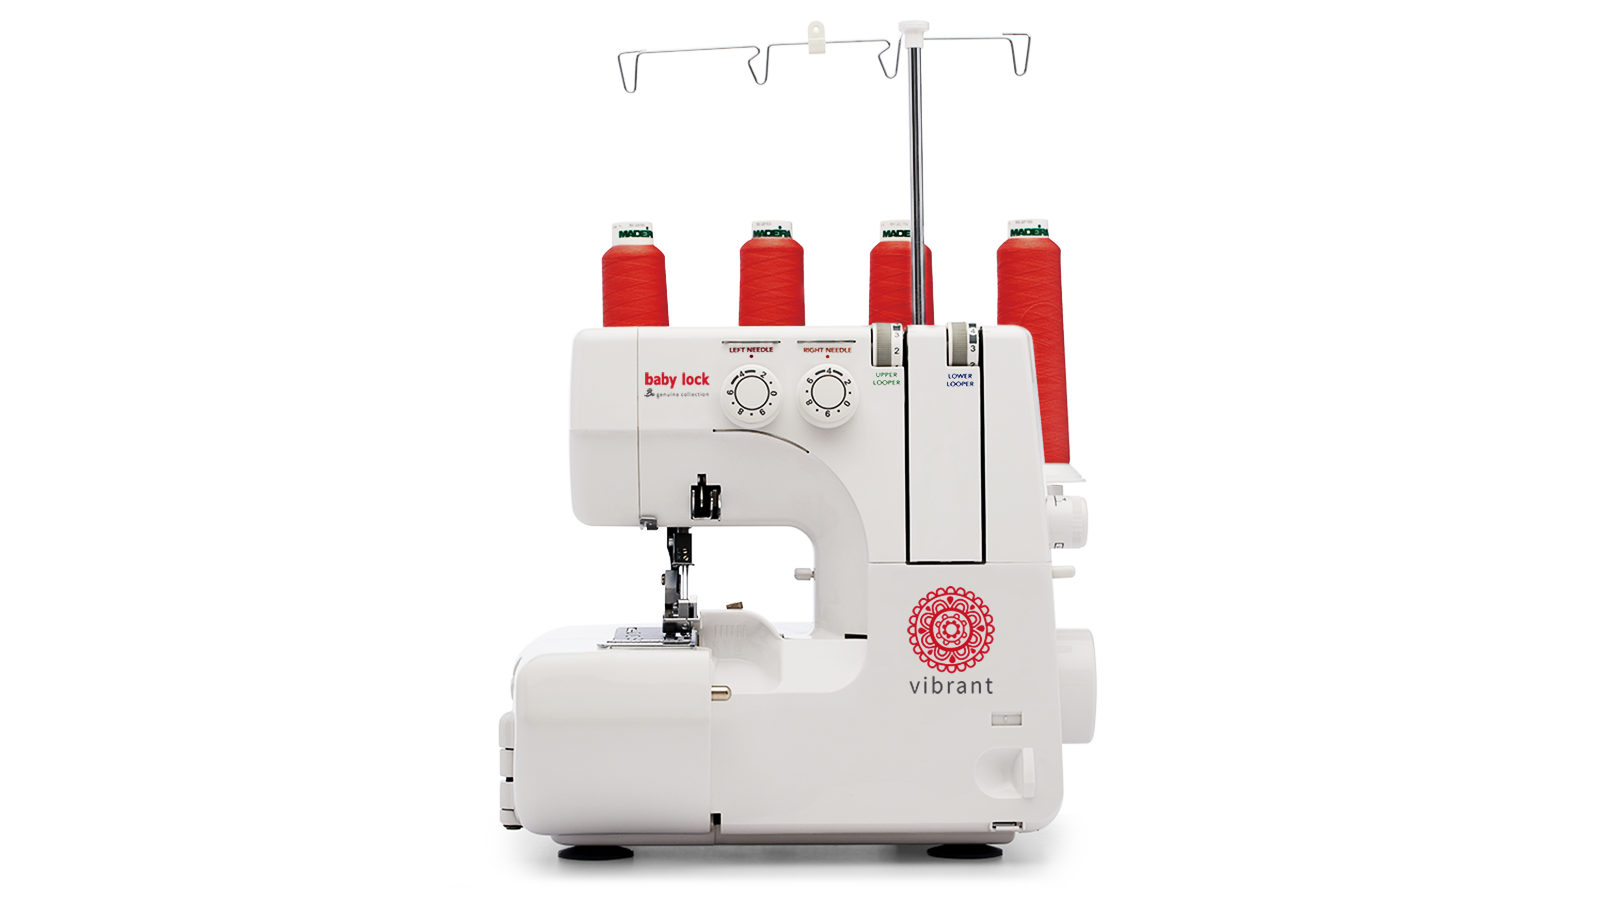
Tweed fabric tends to fray easily and I didn’t want to chance the fabric fraying up to the seam allowance. Therefore, I decided to secure all the raw edges before sewing. After cutting the fabric, I used my BABY LOCK VIBRANT SERGER to finish the raw edges around all the fabric pieces. If you don’t have a serger, you can sew a straight or zig zag stitch around the fabric pieces to prevent fraying.


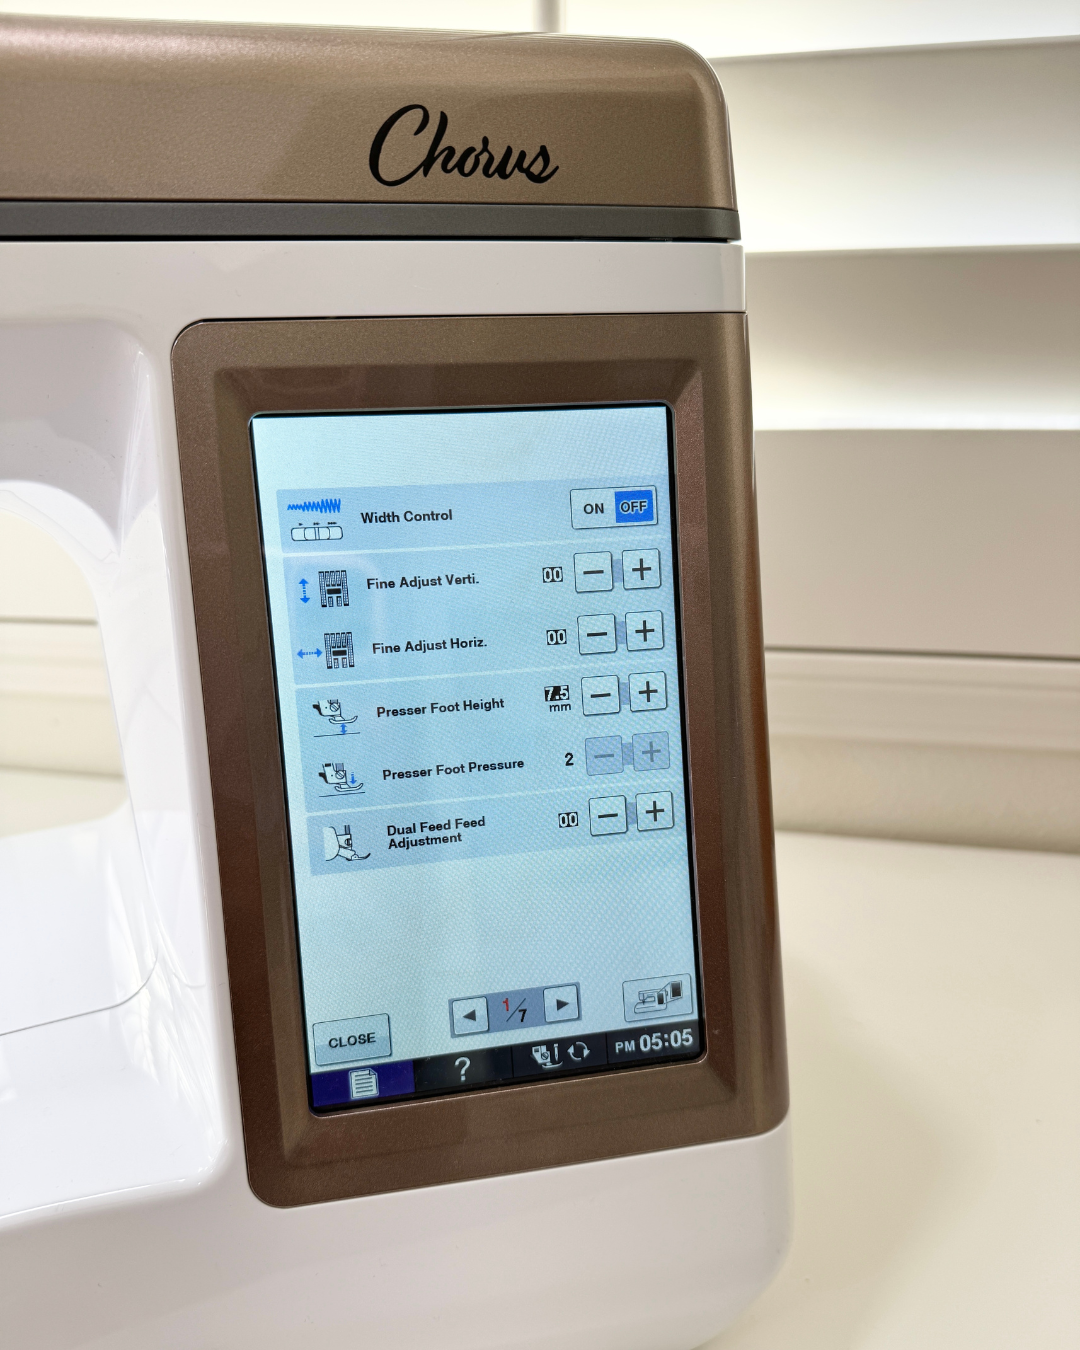
I used my BABY LOCK CHORUS sewing machine to sew the coat. One of the many features I love about my Chorus is it’s ability to automatically adjust to the thickness of the fabric I’m sewing. However, if I ever need to make adjustments, the control panel makes it an easy process. I simply press the pages button at the bottom of control panel. From page one I can adjust the presser foot height and pressure, and the dual feed feed adjustment. Once I’m done, I press the close button and continue with sewing.


Notions Information
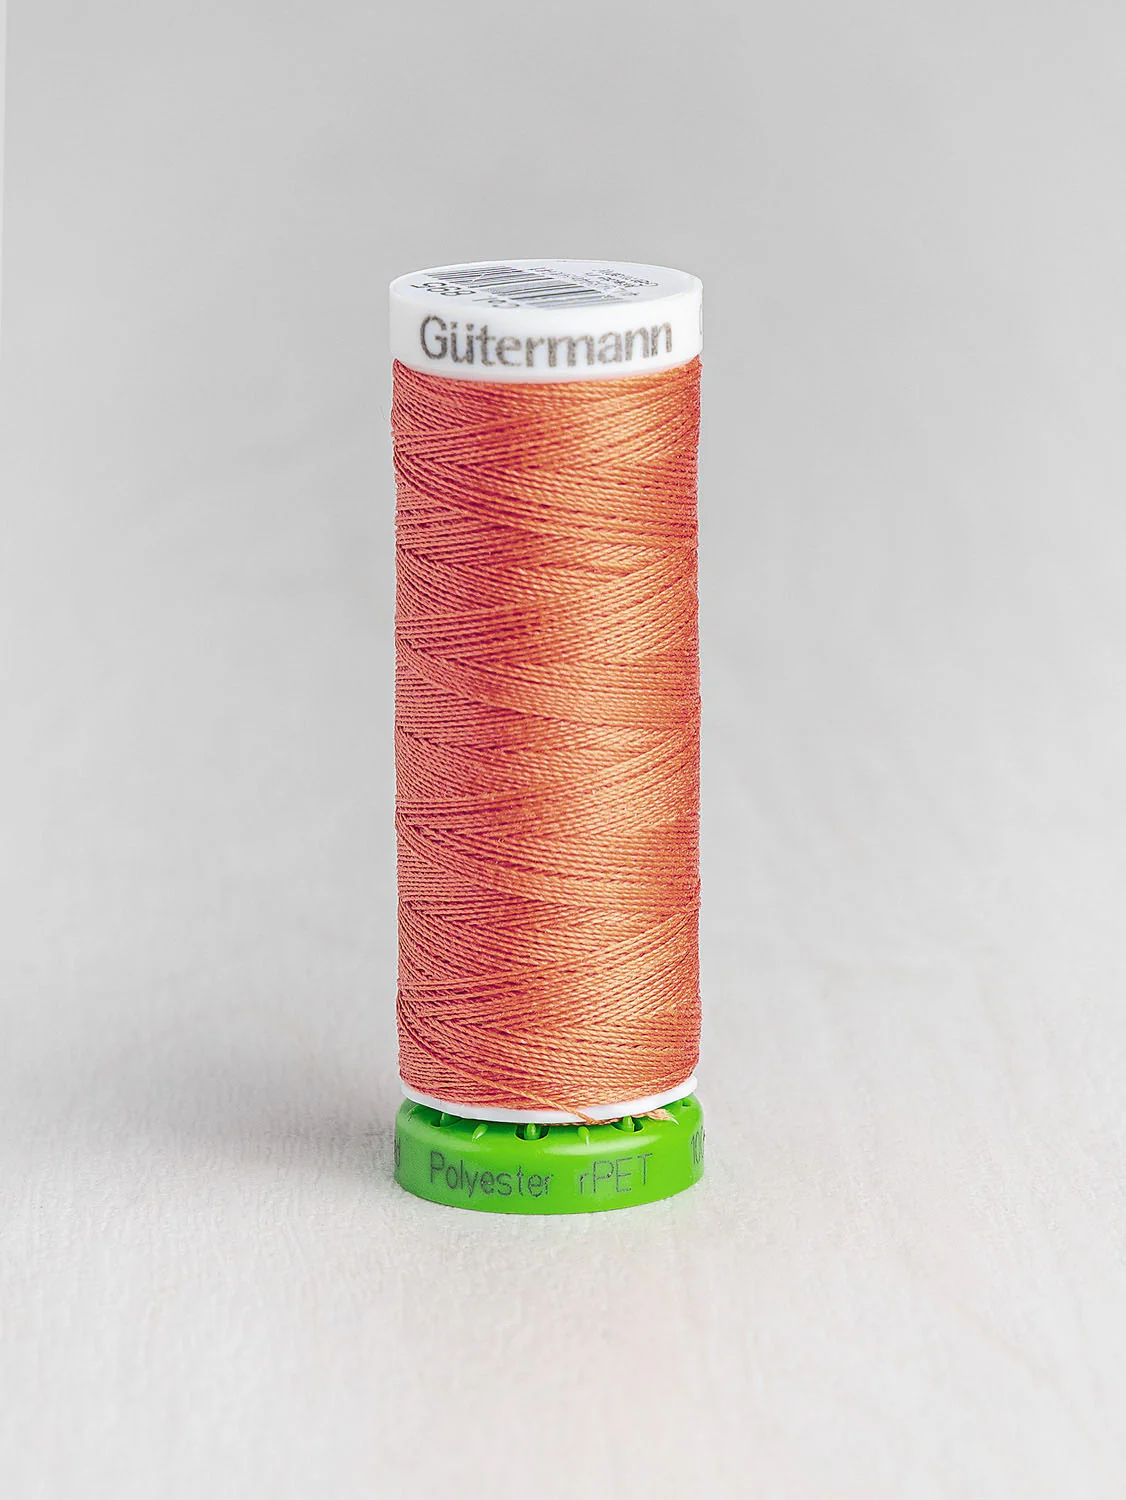
The pattern calls for thread and two or three 1″ buttons. I used this beautiful Gütermann All Purpose Recycled Thread in the color Coral from Core Fabrics. A really nice feature they have on their website is thread matching. With each fabric option in the store, they also offer a matching thread on the same page.
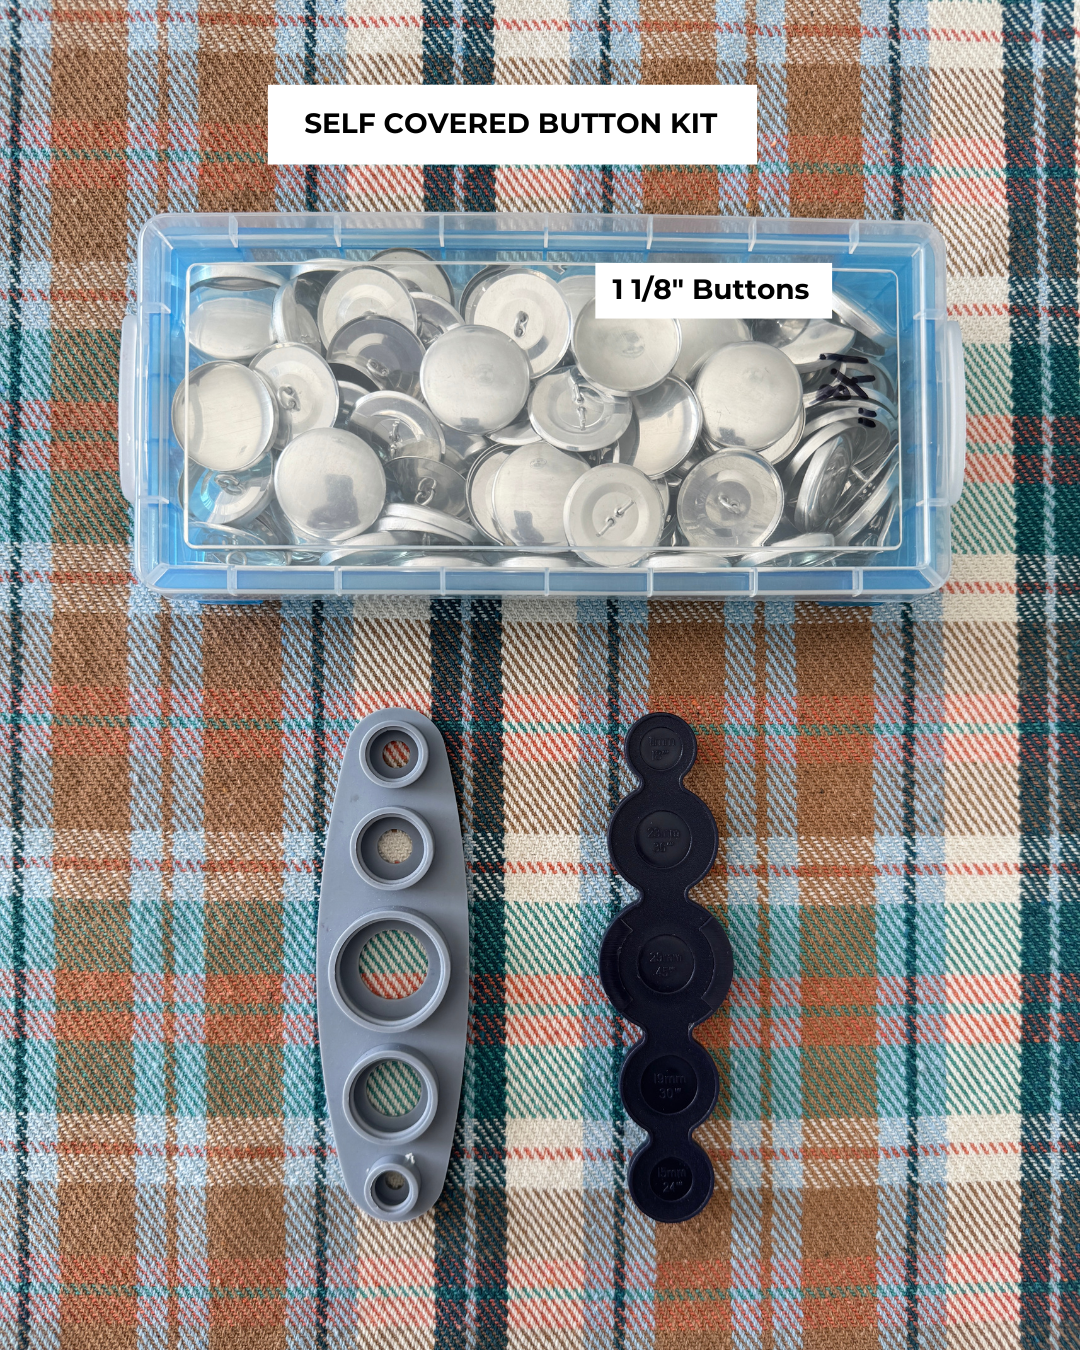
I opted for self covered buttons because I think they sometimes give a more sophisticated look with coats. While the pattern calls for 1″ buttons, I used 1 1/8″ because that’s what I had. Unfortunately, I have not been able to find 1″ self covered buttons. I measured the button hole marking on the pattern piece and determined the length was adequate for the larger button. The SELF COVERED BUTTON TOOL pictured below makes covering buttons so quick and easy. Check out my YouTube Video to see how it works. Follow the time stamp in the description box of the video to 10:25.
Since I was working with a thick fabric, I used a Size 90/14 Universal Sewing Machine Needle

Alterations Information
After looking at the finished garment measurements and checking out Pattern Review to see what others who have sewn the coat had to say about their experience, I decided to cut a Size XS. The pattern has a lot of ease and several women said the coat was huge. I’m glad I chose XS because the coat has just enough room inside for me to wear a heavy sweater without feeling too tight.

I did not make any alterations to the pattern but I sewed a free hanging hem on the lining instead of attaching it to the coat. I initially had planned to use the bagged method to attach the lining hem to the coat hem, but something weird happened in the construction so that the bottom was off. I do wish I had lengthened my sleeves by an inch or two because I think they’re a bit too short.

I believe there is a misprint on the collar pattern piece. Either I installed the collar incorrectly or the dots to match the collar to the neckline are printed on the opposite side (upside down). I don’t know which is correct but the markings were not matching up and I kept studying the illustrations and it wasn’t coming together for me. I even read through all the reviews on Pattern Review and nobody mentioned it. This led me to believe that it was just me not getting it. So, I decided t do what made sense to me and it worked out. If it’s upside down, it still looks great. Hahaha!
Matching Plaids
One of the more challenging techniques in sewing is matching prints at the seams. While some designs are more simplistic than others when matching patterns, I have found it difficult to match every seam in the entire garment, even with simple designs. Therefore, I focus on the main seams and areas of the garment that are most visible. In this section, I’ll show you how I matched the plaid lines on this fabric.
I started by marking the pattern pieces. I placed the pattern piece onto the coat back that was already cut, exactly where I planned to place the tab. Next, I drew lines to match the print of the fabric. Then I labeled the markings. In the photo below, I drew lines for the orange, blue and stripes. The orange stripes are labeled with “O” and the blue stripes with “B”. The “W” on the sides are for the white stripes. When I was ready to cut the tab, I aligned it onto a piece of fabric, following the labels on the pattern piece. I used this technique when cutting the coat fronts, collars and facings. The coat back was my foundation piece, and all other pieces were matched against it to the best of my ability.

Here are a few helpful tips:
- Always make sure the print is matching at the seam line. If it’s matching at the raw edge and not the seam line, your print will not line up when sewing.
- Always purchase extra fabric when matching stripes, plaids, prints, and one-way direction fabric.
- Choose simple designs with minimal details (such as darts, princess seams, pleats, etc.).
- Cut your fabric on a single layer to ensure pattern matching.

To keep my pattern pieces in order after cutting, I used sticky dots to label which piece goes where. In the photo below, the coat back is in the center. The left is marked with orange dot and right with pink dot. The coat fronts are placed on the sides with coordinating sticky dots. This way, I don’t get confused during construction.

In the photos below, I’ve labeled the sleeves and facings. You will notice that the facings are not cut the same. I didn’t realize this until after the fact. I was so focused on matching the side seams that I neglected to see that the blue stripe on the right facing was not centered. Unfortunately, this shows on the front lapel in the finished garment. Also, unfortunately, I did not have enough fabric to cut another right facing that would match perfectly. Therefore, I decided to let it be and move forward. I actually did order extra fabric but making a mistake on a larger piece didn’t leave me with enough to try again

Styling Options
I plan to wear the coat with all kinds of garments, including jeans. Here I’m wearing it on top of a pair of black skinny jeans, black turtleneck sweater, black leather booties, and a black leather handbag. I’m currently working on a beautiful, coral, pussy bow blouse and cream wide leg pants. And I plan to wear my new coat on top of that outfit.


What do you think?
What do you think about this coat? Do you like tweed fabrics? Have you ever sewn with plaids? I would love to hear your feedback. Scroll to the very bottom of this page to leave a comment.
Thank you for stopping by today! 💕

Other Related Links
- Sewing Project Checklist
- Learn to SEW Course
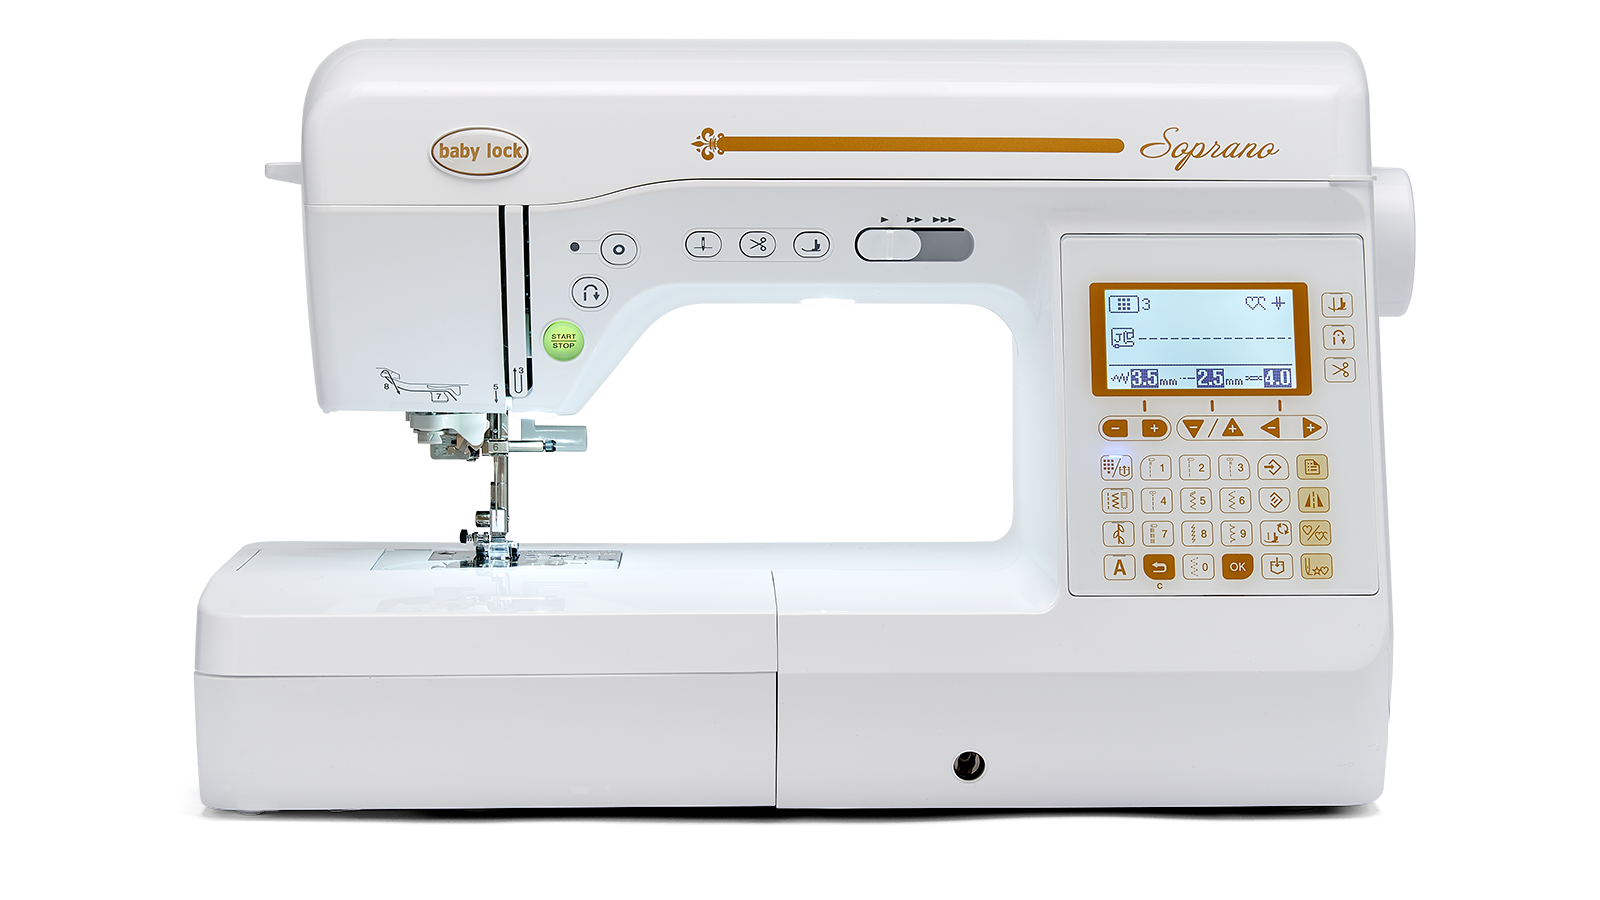
- Baby Lock Soprano
- Baby Lock Vibrant
- Baby Lock Euphoria
- Baby Lock Chorus
(DISCLAIMER: This blog post may contain affiliate links, which means that if you click on one of the product links, I’ll receive a small commission on qualifying purchases. All opinions in this post are my own.).)
Don't Forget your Sewing Project Checklist
I created a Sewing Project Checklist to help you stay organized while sewing your garments. If you missed the video where I shared 3 Steps to Time Saving Sewing for Beginners, check it out to learn how you can streamline your sewing process. Tap the button below to get a Free PDF copy of the Checklist.

Join My Community
Join others in my community for early access to new courses, exclusive member benefits, giveaways and updates when new content and products become available.

You Should Share This Blog Post With Your Friends
- Pinterest
- Facebook
- Twitter


BABY LOCK SEWING MACHINES


Post Archives
Search Categories
This Post Has 39 Comments
Great. Love the attention to details, warnings and advice regarding mistakes etc. This will be my first coat and using a vintage plaid wool fabric. I am excited and from your detailed review and commentary, I am encouraged to take the plunge and make my first coat. Thank you.
You always inspire me! I am a Core Member and love their fabrics. It is indeed challenging to sew with plaids. I have been sewing a lot of shirts for the men in my family. Of course that means a lot of plaids. Sometimes I can’t tell the right side from the wrong side. Last year I started labeling with painters tape! It is removed easily and I no long struggle trying to figure out which side is which!
You did a fabulous job both with matching and sewing! I’m itching to make a coat. Don’t know if I’ll tackle the oversized tweed! Maybe a sport coat! Great job..
Hi Anita, absolutely beautiful tweed coat. Your fabric and pattern choices look so high end. I saw the same fabric and thought it was beautiful but what would I use for? Well done. Love your blog.
Love your coat, the construction details are impeccable. 👏🏼
Please forgive me Anita. I felt I had to write because I think so highly of you, love you as a sister in Christ and because you are a lovely person and sew such wonderful garments..however.. the top stitching on your tartan coat lapels isn’t accurate and because it is in such an obvious spot it might be worth redoing. I really hate to correct you and also hate un-sewing just as much. May God bless you dear lovely lady.. please keep making beautiful things for God’s glory.
Hi T-Anne! Yes, I am aware the the topstitching is off and I was already planning to correct it. Actually, it isn’t too much work. Thank you for reaching out.
Hi Anita,
As usual you did a beautiful job. The fabric is so pretty. You’ve inspired me to try making a plaid blazer which I haven’t been able to find in the stores. I agree that the sleeves could’ve been a little longer, but have you thought about adding to the length and then turning them up?
Thank you Brenda. No, I didn’t think about adding the sleeves. I’m okay leaving them as is.
Wow what a stunning coat.Well done Anita
Hi Anita, You really matched the heck out of that plaid! Beautiful job. How many sizes did you go down so it wouldn’t be so big on you? I would like to know just for reference.
Thank you Gwendolyn! I probably would have sewn a size 10 in keeping with the oversized look. But the finished garment measurements put me in the XS (6-8) for my desired fit.
Love,Love the plaid coat you made..Matching those plaids was a challenge ,but wow you did it. Enjoy your coat can’t wait to see next.
Thank you so much, Jeannine!
Ok ok! I love the entire look! Really like the color combo and pattern of the fabric! 💕 ❤️ always delivering 🙌🏽
Hey Shon! Thank you so much.
Anita, you make the coat. When I saw the initial picture of it, I wasn’t so sure. A shorter version in plaid might have grabbed my attention but I kept wondering about it. Beautiful plaid – I just wasn’t sure about a full-length plaid coat. The pictures of you wearing it have given me a different perspective; now I have a greater appreciation for it. As always, your sewing is impeccable. I hope you get many enjoyable wears from this coat.
Thank you so much, De! Yes, sometimes it’s hard to imagine how a fabric will look with certain designs. I definitely plan to get lots of wear from this one. I love it so much.
Where can I find that covered button maker?
Anita! I love this plaid coat. You did an amazing job. I have some wool stripe fabric and was wondering if I should make a pair of pants or a coat. I think I will make a pair of pants and a jacket to go with it. Your pattern looks easy. Is it?
I can’t find the pattern. When I search McCalls 8797 I get boys shirt tops
Hi Cynthia. Tap the link in the blog post and it will take you directly to the page on the website for the pattern. You will find the link under the pattern title of this blog post.
Oh Anita, what a fabulous coat, everything about it screams at me to make one – there is only one problem. I live in a very hot state of Australia, therein lies the reason I unfortunately will not be making one. However, all your tips about fabric matching and pattern piece placement rang so many bells in my head – well done. I also luv luv luv your handbag.
Hi Frances! Oh yes, I totally understand not needing a coat in hot climates. But I’m glad the tips ran bells for you. I’ve had this handbag for about nine years. And I still love it as much as I did the first day I laid eyes on it.
Beautifully done! I would love to make a boucle coat. I have pattern ME 2001 but your pattern might be better.
Oh my goodness! I made ME2001 in a black wool and it was fabulous. This coat would look amazing in a Boucle.
Hi Anita,
This coat is absolutely stunning! I love the fabric choice too.
Thank you, Trish!💕
Hi Anita,
I was only thinking yesterday that hopefully you will be posting a new make soon and here you are today! What a beautiful coat; I absolutely love the fabric and the vibrant colours. I am in awe with how you pattern-matched the seams and stripes, even down to the tab on the centre back of the coat! So professional and you look wonderful in it. Thank you for sharing with us all.
Greetings from Scotland, UK
Jill xx
Thank you so much, Jill. I love the colors so much.
Absolutely beautiful just as everything you make. I enjoy reading and looking at your posts and blog and I would love to get back to dressmaking but unfortunately due to some physical health problems in the last 3 years I am not as able as I was to ,to dressmaker. I hope that one day I will be able to follow your instructions and make something.
Happy Nee Year
Thank you so much. I do hope that you will be able to get back to sewing one day. I know how you feel not being able to create. Happy New Year.
Wow! That’s all I can say!
Awww! Thank you!💕
I only have one comment — GORGEOUS!!! I have a wool plaid. Maybe I’ll give it a try.
Thank you so much, Bernice. Yes, give it a try.
You ROCK at plaid matching!!!!!
The sticker dots have helped!!
Thank you!!!
Thank you. Awesome! I’m so glad the sticky dots were a helpful tip.
You did it again! What a cute coat – so cheerful and pretty! Every now and then I’m not sure a pattern is correctly printed or the instructions are hard to understand and I just have to hope I have it figured out – like you said, if you did make a mistake with the collar, it’s not obvious at all!
Yes, I love that we can “make it work” even when we don’t understand. The beauty of creative minds.